Getting Started with Player Movement Scripts
We’ll walk through creating smooth, responsive player controls that feel natural and responsive to input.
Sound makes or breaks immersion. Learn how to implement audio clips, manage volume, and create dynamic sound effects that respond to gameplay.
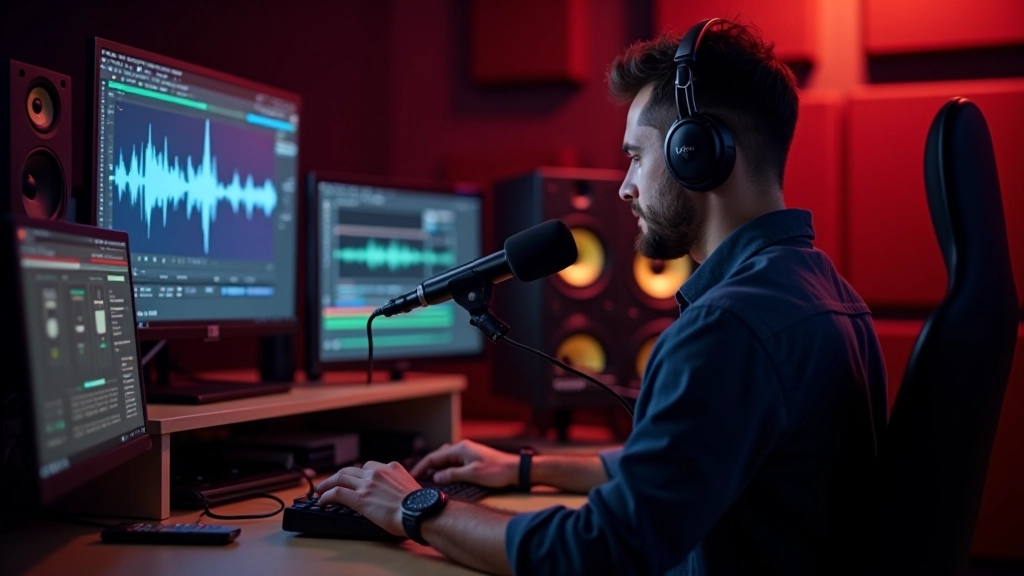
It’s easy to focus on visuals when you’re building a game. But here’s the thing—sound is just as important. A well-placed footstep tells players exactly where an enemy is. A subtle wind sound makes the environment feel alive. Even the silence between actions can create tension.
In Unity, we’ve got everything we need to create immersive audio experiences. From simple sound effects to dynamic music systems, you’ll learn how to layer audio into your games properly. We’re not talking about overwhelming your player’s ears—we’re talking about crafting soundscapes that enhance gameplay and storytelling.
Load, play, and manage sound files in your scenes
Adjust levels for effects, music, and dialogue separately
Make sounds feel like they’re coming from specific locations
First things first—you need audio files. Unity supports WAV, MP3, OGG, and AIFF formats. You’ll want to prepare your audio files before importing them. That means making sure they’re at the right sample rate (usually 44.1kHz or 48kHz) and in stereo or mono depending on your needs.
Once you’ve got your files, importing is straightforward. Drop them into your Assets folder and Unity handles the rest. But don’t just throw everything in at full quality—compress your audio appropriately. A 30-second explosion effect doesn’t need to be a 50MB file. We’re talking about making smart choices that keep your game size reasonable while maintaining quality.
The Audio Source component is where the magic happens. It’s what actually plays sound in your scenes. You’ll attach it to game objects—maybe your player character, an enemy, or just an empty object in your level. Each Audio Source can play one audio clip at a time, but you can have multiple Audio Sources playing simultaneously if you need layers of sound.
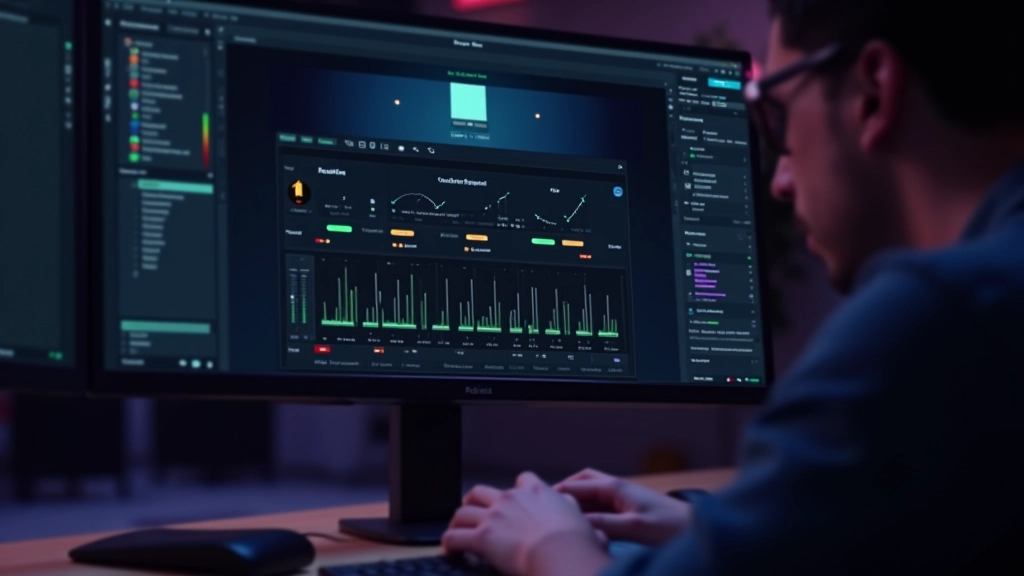
Here’s where most games mess up—they blast everything at the same volume. Your background music, sound effects, and dialogue all competing for the player’s attention. You want separate control over each category. That’s where audio mixers come in.
Create an Audio Mixer in your project. Then set up groups: one for music, one for effects, one for dialogue, maybe one for ambient sounds. Each group gets its own volume slider that you can adjust from code. Your player opens the settings menu and wants to turn down music? You’re changing the music group volume, not individual tracks.
Don’t forget ducking—automatically lowering music volume when dialogue plays. It’s a subtle effect but it makes everything feel more professional. When a character speaks, the background music dips by maybe 3-6 decibels. Your player’s brain registers it instantly. The dialogue comes through crystal clear without you having to do anything extra.
The real power of game audio is interactivity. You’re not just pressing play on a soundtrack—you’re creating audio that responds to what the player does. A footstep sound that changes based on what surface they’re walking on. A sword swing that sounds different depending on whether you hit flesh or armor.
This is where scripting comes in. You’ll write code that triggers audio playback based on game events. Player takes damage? Play a hurt sound. Enemy detects the player? Play an alert sound. These aren’t random—they’re triggered by specific conditions in your game logic.
You can also vary your audio. Instead of playing the exact same footstep sound every time someone walks, randomize the pitch slightly. Use 3-4 different footstep clips and randomly pick one each time. The player’s brain doesn’t consciously notice, but it prevents that repetitive, robotic feeling. The game sounds more alive.


One of the coolest features in Unity is 3D spatial audio. Instead of sound just coming from everywhere, it comes from a specific location in your game world. An enemy on your left sounds like it’s on your left. One behind you sounds like it’s behind you. This is critical for immersion and actually gives players audio cues about enemy positions.
Set the Spatial Blend on your Audio Source to 1.0 for full 3D, or something like 0.8 if you want a mix of 3D and 2D (useful for dialogue that should feel somewhat localized but not completely directional). Adjust the Max Distance—this is how far away the sound can be heard. A footstep might be 15 meters, but a monster roar could be 100 meters.
Doppler effect is another nice touch. As a sound source moves toward you, the pitch rises slightly. As it moves away, the pitch drops. This happens in real life, and including it makes your audio feel authentic. You’re not doing anything complicated—just enable Doppler on the Audio Source and let Unity handle the math.
Good audio design isn’t about having the fanciest sounds or the most expensive voice actors. It’s about making intentional choices. Every sound should serve a purpose. Is it giving the player information? Creating atmosphere? Providing feedback for their actions?
Start simple. Get audio playing in your scenes. Set up volume control so different sound types don’t clash. Then layer in interactivity—make sounds respond to gameplay. Once you’ve got those foundations solid, you can explore more advanced techniques like procedural audio, real-time effects processing, or music systems that adapt to what’s happening in your game.
The games that stick with players aren’t always the ones with the best graphics. They’re the ones where every element—including sound—works together to create an experience. You’re not just making a game people see. You’re making one they hear.
This article provides educational information about audio integration and sound design in Unity. Audio implementation approaches vary depending on your specific project requirements, target platform, and performance constraints. The techniques described here represent common practices, but you should test and adapt them based on your game’s unique needs. Always refer to the official Unity documentation for the most current API information and best practices.